This is Harder than Expected (Report from 2017, Part 2)
 After the first quick “pre-prototype” build, our plan was to build a more robust second prototype and use it for experimenting with the basic mechanisms and control and gradually improve it.
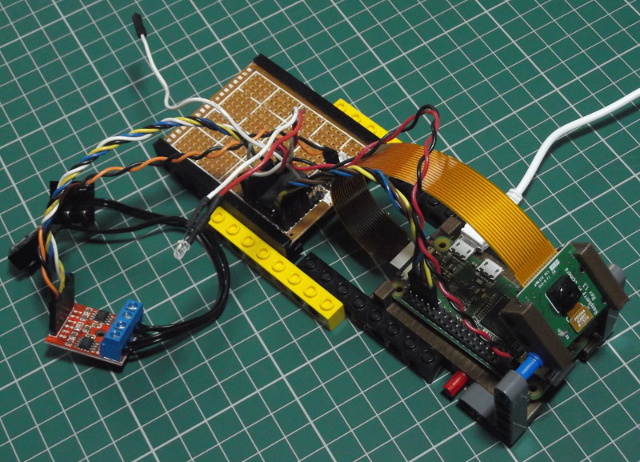
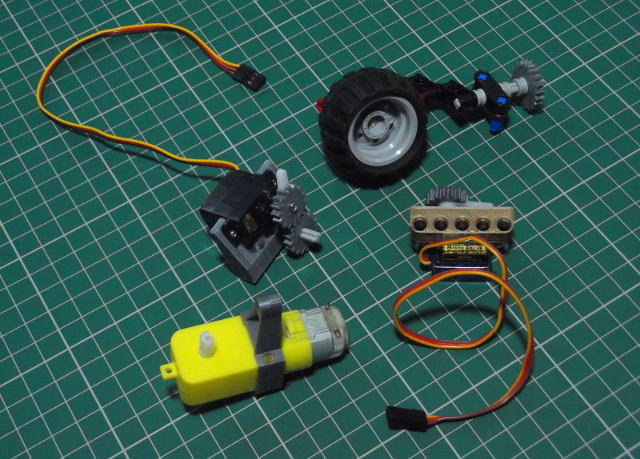
We were planning to use Lego Technic to quickly build the structure, with a few custom 3D-printed parts to attach the various non-Lego components (motors, circuit boards, power bank). The idea was that this would allow us to quickly change things as we experiment and gradually replace the Lego parts as the final design emerges.
It’s just Lego, so how hard can it be…?
Well, it turned out to be much more complicated than we expected. But as this is our first robot, we already knew at the beginning that all this would be harder than we expect! So… it was all expected after all, so it’s all fine… I think…
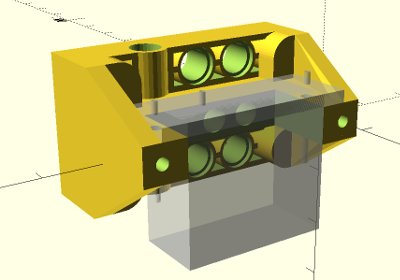
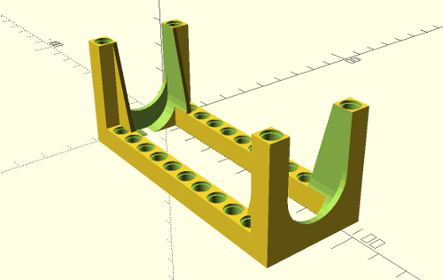
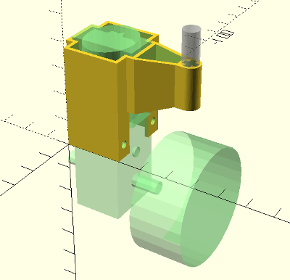
These “few custom 3D-printed parts” were not so easy to make. The dimensions of all the components were always a bit awkward, either too long or too short to match any standard Lego sizes. We always seemed to miss one more special part somewhere, or found something that didn’t fit. Designing the drive motor + steering servo assembly with Lego axles and gears was really difficult and it ended up being quite fragile. And of course, you typically only realise major mistakes in the design after many hours of printing!
So the “quick second Lego prototype” phase turned out to be countless hours (but a lot of fun!) spent with OpenSCAD, many more hours printing parts that won’t fit and many attempts to make the whole thing robust enough. Finally we ended up with a lot of custom Lego-compatible elements with only a very few actual original Lego parts!